Newsletter extension for Vtiger CRM
Create and design your own unique templates for emails in Vtiger CRM

Put your Email templates on a new level with this amazing tool. Design templates by adding blocks, images, texts, headers and more
Newsletter features

Start using Newsletter now!
Installation & Usage
Installation & Validation is via our Free Extension Installer
For detailed guide how to validate and install our modules visit guide below:
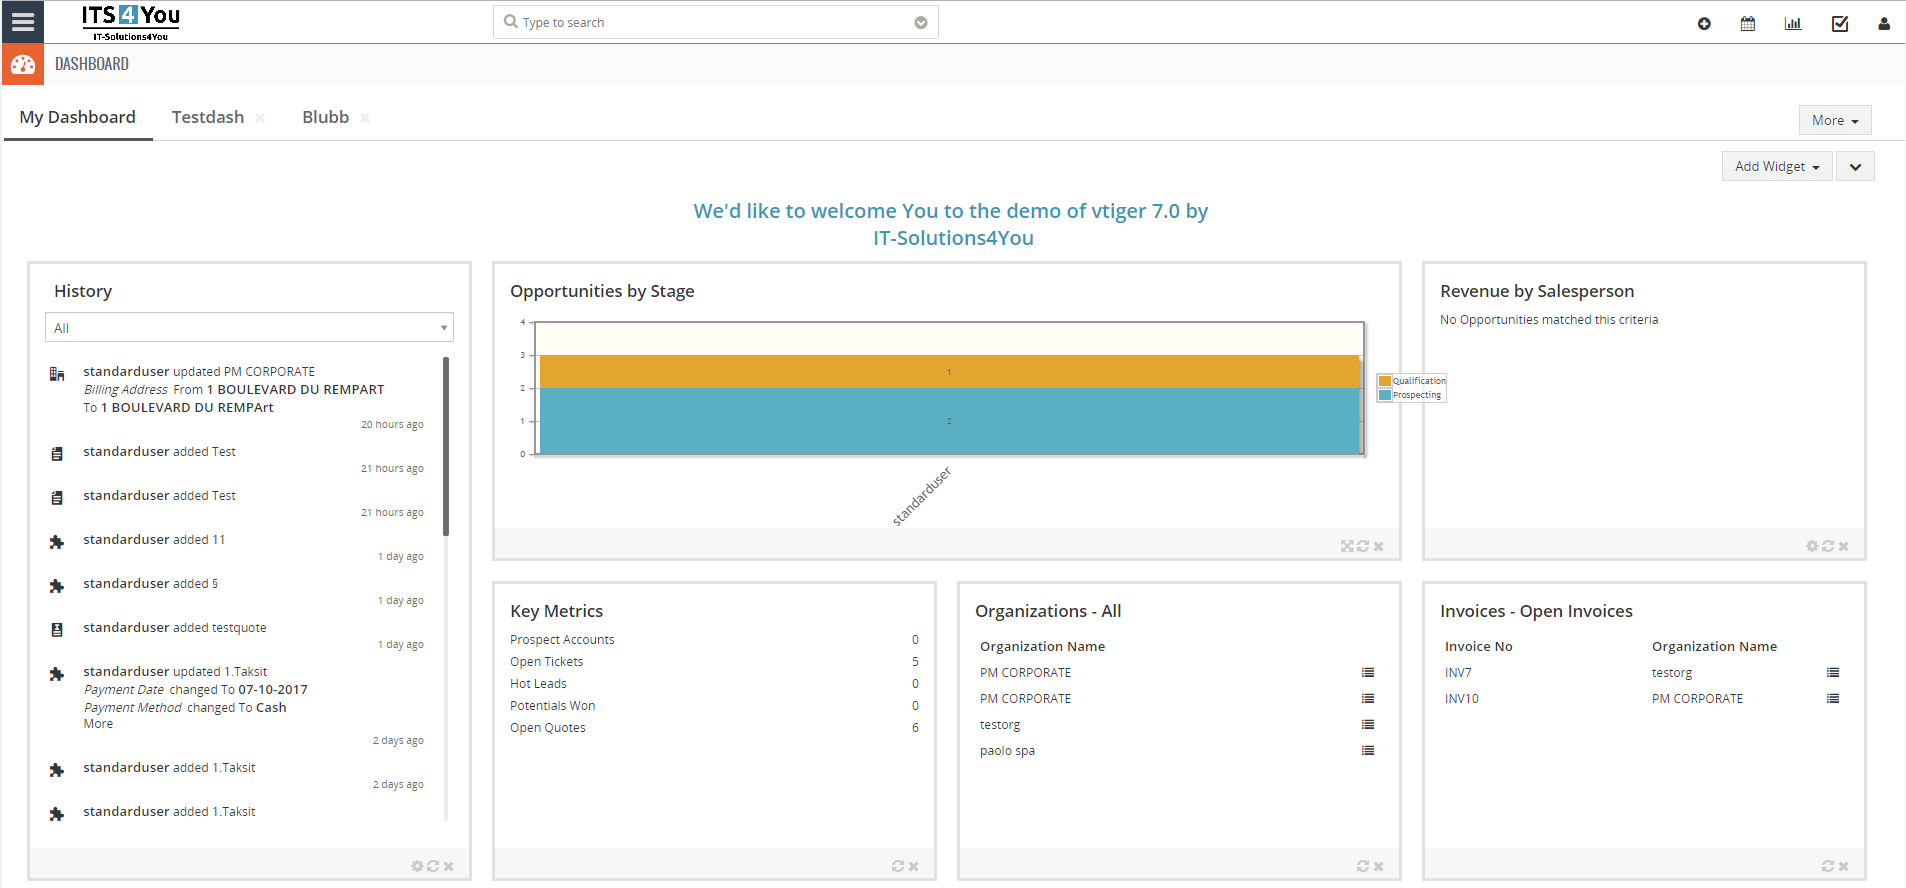
After successful installation of Newsletter you are able to access module and start using it.
![]() Notice: Changes made in the Newsletter are transferred/copied into the Email Templates default Vtiger module. On the other hand, changes made in Email Templates will not be transferred into the Newsletter.
Notice: Changes made in the Newsletter are transferred/copied into the Email Templates default Vtiger module. On the other hand, changes made in Email Templates will not be transferred into the Newsletter.
Our advice is to don’t touch templates created by Newsletter in Vtiger default module Email Templates. Edit templates just in Newsletter module. Reason is that, when you are sending emails and want to choose the template these templates are loaded from Vtiger Email Templates module.
![]()
How to create/edit template in Newsletter
- Go to the Newsletter module under Marketing via menu. In the list view click on
 button.
 - Fill up all required fields like: newsletter name, assigned to, description for this template if you want and next subject and finally choose the module.
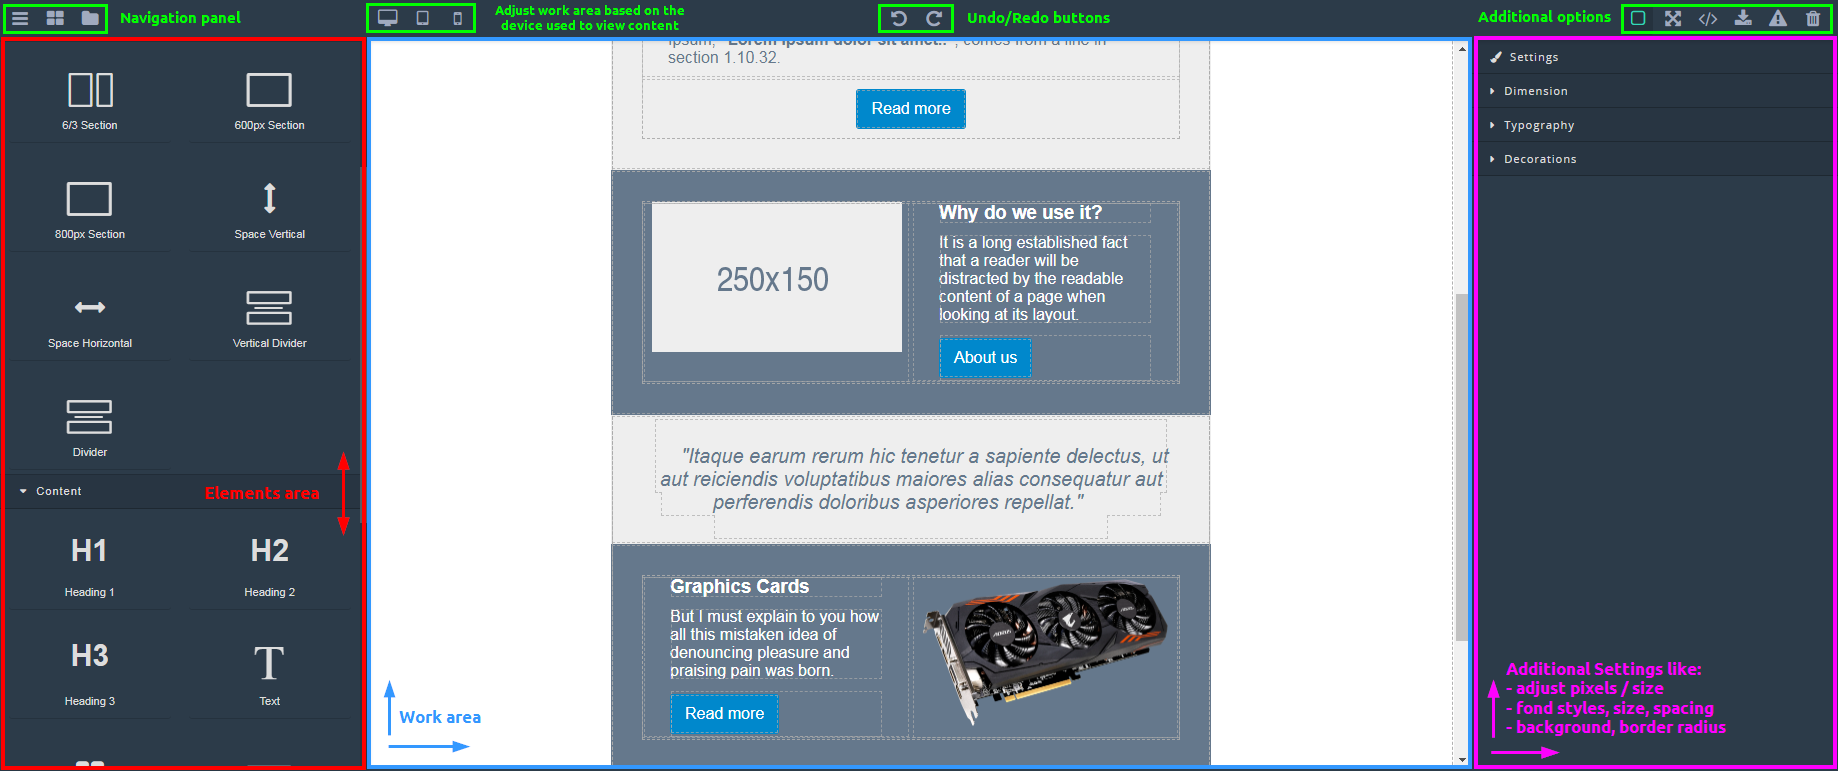
- Now you will have access to the template editor which have many features like adding blocks, headers, text, buttons, links, images, icons, grid items, text sections and much more.
You can try demo how to create own templates here: Newsletter demo
Documentation can be found here: GrapesJS Documentation - Start creating your template now. When you first access the window its empty. By default, you can use our template and change elements inside it. See image below:
- You can use your own blocks and create layout from them. Blocks and other elements can be picked from the left menu under Content icon:

How to use Newsletter templates to send Emails
![]() Notice: Using templates from Newsletter works just with the default Vtiger email system, not with our Email Maker.
Notice: Using templates from Newsletter works just with the default Vtiger email system, not with our Email Maker.
- Go to the module from which you want to send the emails. For example Leads. You can select multiple records via list view or just go to the detail view of the record and send email from there.
- For example, in the detail view of record, click on the button

- The compose email window will appear and next click on the button

- The list of templates from module Email Templates will appear and you can select the template you created in the Newsletter. Simply click on the template name:
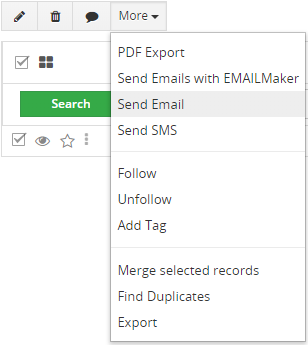
- Sending emails via list view its basically the same, just select the records and via the More button choose Send email:
 Notice: We also recommend to check tab Tips & Tricks for more information and improvements for the Newsletter.
How to Insert a URL Link into an Image in a Newsletter
Simply follow the instructions shown in the image below.
Users need to insert a Link Block, and then place any element inside it — such as an image or an icon — as shown below.
Own custom fonts in Newsletter
(Setting up own fonts is performed by a user or admin)
In order to select own fonts from Typography settings you need first perform this steps:
- Find the font you want to use, for example here: https://www.cdnfonts.com/
(you will be need an url to the font like: https://www.cdnfonts.com/univers-lt-std.font) - Then go to the vtigerfolder and open a config.inc.php file
- In this file you have to put your selected fonts via global variable $ITS4YouNewsletter_fonts
‘name’ => – ‘here you put the font name’
‘value’ => – “‘font name’, type or specify the font families”,
‘url’ => ‘here you put the url to the font you need, each font page has own url’,
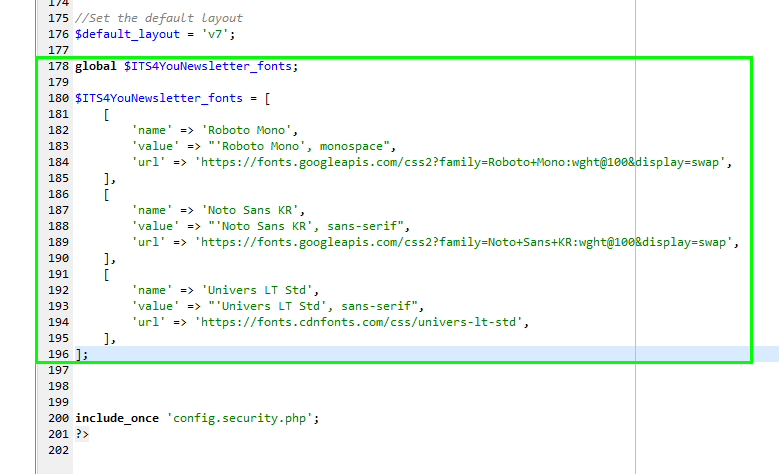
- Somewhere (or at the end) in the .php file, enter this code you see below:
(we used fonts Roboto Mono, Noto Sans KR, Univers LT Std as an example)
global $ITS4YouNewsletter_fonts; $ITS4YouNewsletter_fonts = [ [ 'name' => 'Roboto Mono', 'value' => "'Roboto Mono', monospace", 'url' => 'https://fonts.googleapis.com/css2?family=Roboto+Mono:wght@100&display=swap', ], [ 'name' => 'Noto Sans KR', 'value' => "'Noto Sans KR', sans-serif", 'url' => 'https://fonts.googleapis.com/css2?family=Noto+Sans+KR:wght@100&display=swap', ], [ 'name' => 'Univers LT Std', 'value' => "'Univers LT Std', sans-serif", 'url' => 'https://fonts.cdnfonts.com/css/univers-lt-std', ], ]; - Should look like this:
- Then you will be able to select your Fonts under Typography settings:
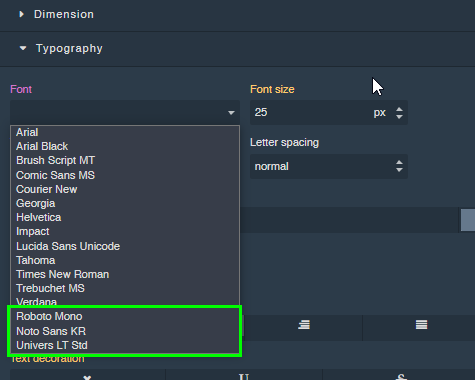
Now you can select the block with the text and via Typography settings choose the font.
Adding fields/variables from Related Modules
(Our example will be Contacts module)
To start adding fields for Contacts module, like salutation, first name or similar. You need to have text block added. Then simply double click on text block and the pick list of variables will come up. Select required variables. See below:

Changing text attributes
To change text style, size or similar you need to select text and then open Typography settings on the right side of your screen.
See below:
Allowing special characters to be used for the Newsletter (for ex: German specific characters)
You will be needed to change some lines in the following files so they should look like this:
- modules/Emails/class.phpmailer.php line 62:
public $CharSet = ‘UTF-8’; - /cron/class.phpmailer.php line 48:
public $CharSet = ‘UTF-8’;
Layout
Creating/Editing Template
Elements

![]() Notice: Changes made in the Newsletter are transferred/copied into the Email Templates default Vtiger module. On the other hand, changes made in Email Templates will not be transferred into the Newsletter.
Notice: Changes made in the Newsletter are transferred/copied into the Email Templates default Vtiger module. On the other hand, changes made in Email Templates will not be transferred into the Newsletter.
Our advice is to don’t touch templates created by Newsletter in Vtiger default module Email Templates. Edit templates just in Newsletter module. Reason is that, when you are sending emails and want to choose the template these templates are loaded from Vtiger Email Templates module.
![]()
- 21 April 2022: 4.7
- added new option to use own fonts by using global variable or creating .php file and define font class
(click here to see how to add own fonts) - resolved issue where images had double “//” in the URL
- added new option to use own fonts by using global variable or creating .php file and define font class
- 1 July 2021: 4.6
- better compatibility with tablet or mobile devices
- other minor bug fixes
- 5 March 2021: 4.5
- the Email variables are supported
- improved stability issues
- 6 October 2020: 4.4
- fixed bug where Records block variable was causing javascript bugs
- 19 September 2020: 4.3
- added new blocks like: Record block, Template record – Email Marketing new step, List records
- 14 May 2020: 4.2
- fixed issue where the Unsubscribe function was missing for Vtiger 6. x versions
- minor bug fixes
- 27 April 2020: 4.1
- added unsubscribe functionality (works with Email Marketing)
- fixed issue, where Settings on the right side of the editor were hidden when switched to full screen editing
- improved compatibility between Newsletter and Email Marketing
- 9 December 2019: 4.0
- new validation process via Installer extension for both Vtiger versions 7.x and 6.x
- 20 August 2019: 600.700.1.1
- release same installation package for Vtiger 7.x and 6.x
- Vtiger 6.x updates for template
- fixed issues with javascripts
- 25 July 2019: 700.1.1
- added default template example
- fixed issues with image source
- fixed issue with licensing and uninstalling
- 22 May 2019: 700.0.1
- release for Vtiger 7.x version