Field Mapping extension for Vtiger CRM
Configure mapping of fields from one module to another within a few clicks

You don’t need to anymore re-enter fields details over and over when converting or creating new records
Field Mapping features

⚠️ Note: Field mapping does not support Cron / Scheduler functionality.
Start using Field Mapping now!
Installation & Usage
Installation & Validation is via our Free Extension Installer
For detailed guide how to validate and install our modules visit guide below:
*Applies for Vtiger 6.x too
Via Settings options you are able to create new relations for Field Mapping.
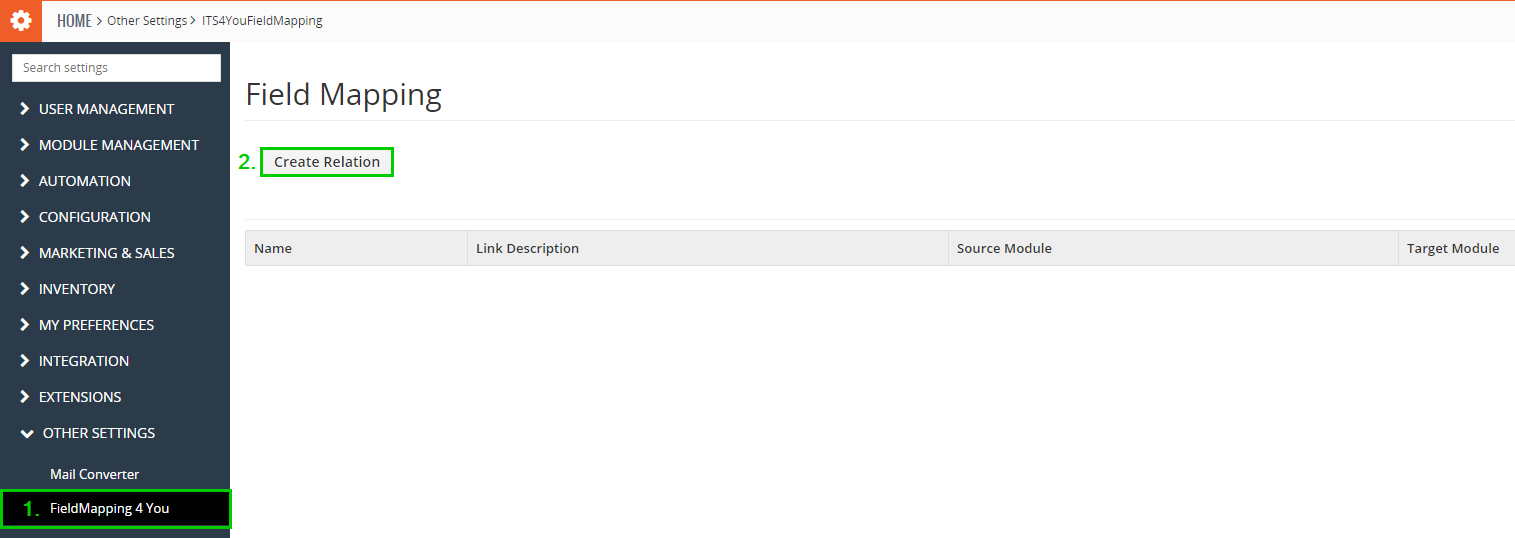
- Go to the Menu –> Settings –> CRM Settings –> Other Settings –> FieldMapping 4 You.
- Click “Create Relation” and start creating relations, when you are done hit “Save”.
If you finish the installation of our module Field Mapping, you are able to use the module as Admin or User and start creating relations between modules in your Vtiger CRM system.
![]() Note: Our extension is not overwriting the default Vtiger mappings in your CRM.
Note: Our extension is not overwriting the default Vtiger mappings in your CRM.
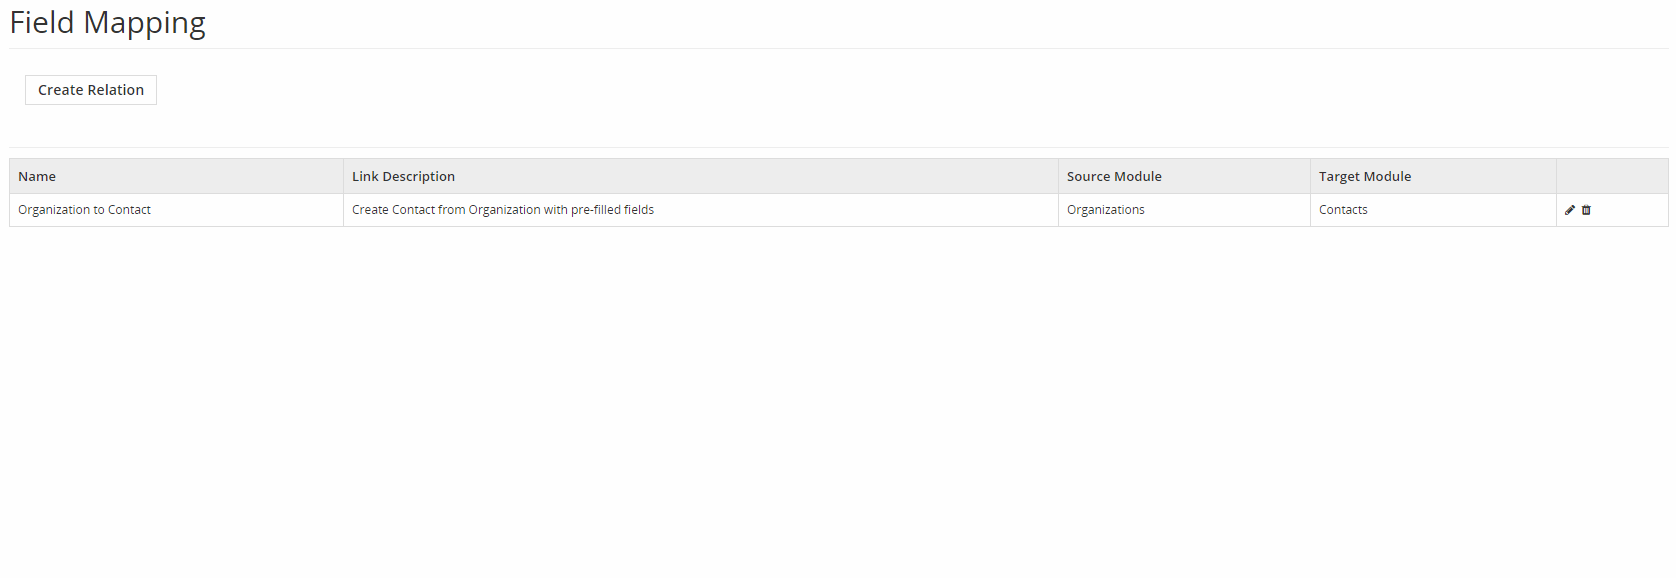
Field Mapping has a lot of options how to create relations and its up to you what do you need to make your work easier with a CRM system.
We will use an example how to create relation between Organization and Contact modules.
How to create relation:
- Go to the Menu –> Settings –> CRM Settings –> Other Settings –> FieldMapping 4 You.
- Next lick on button
 to start creating relations.
 - Continue with filling up details like:
Name – choose the name for relation you are creating
Source Module – select module from which you will be transferring data to another module
Target Module – module to which the data will be transferred
Description – short info about this relation (not required)
When finished click on button.
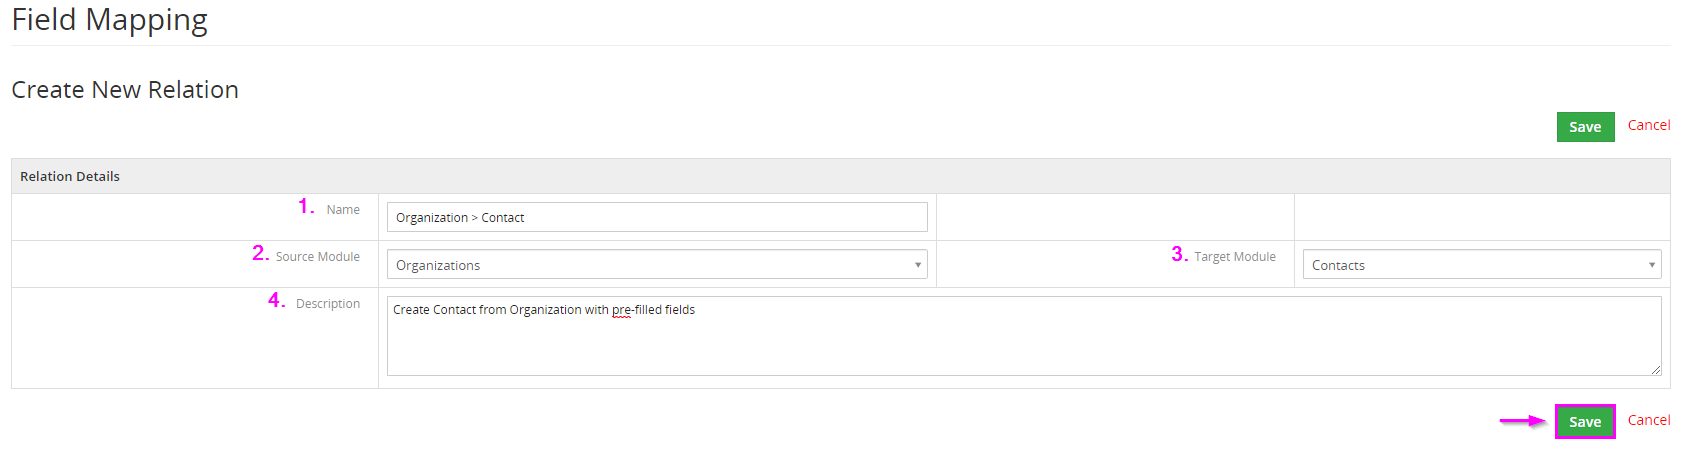
- Next step is create “Link” you can do it via button
 , choose the “Link Label” name for example Create Contact. Proceed with the button.
Creating “Link” means you will create label button which is placed in to Detail view of Organization under drop down menu.
- When the “Link” is created, you can finally edit mappings via
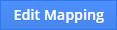 button.
Start adding new mappings via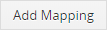 button, first select fields in source module and then target module.
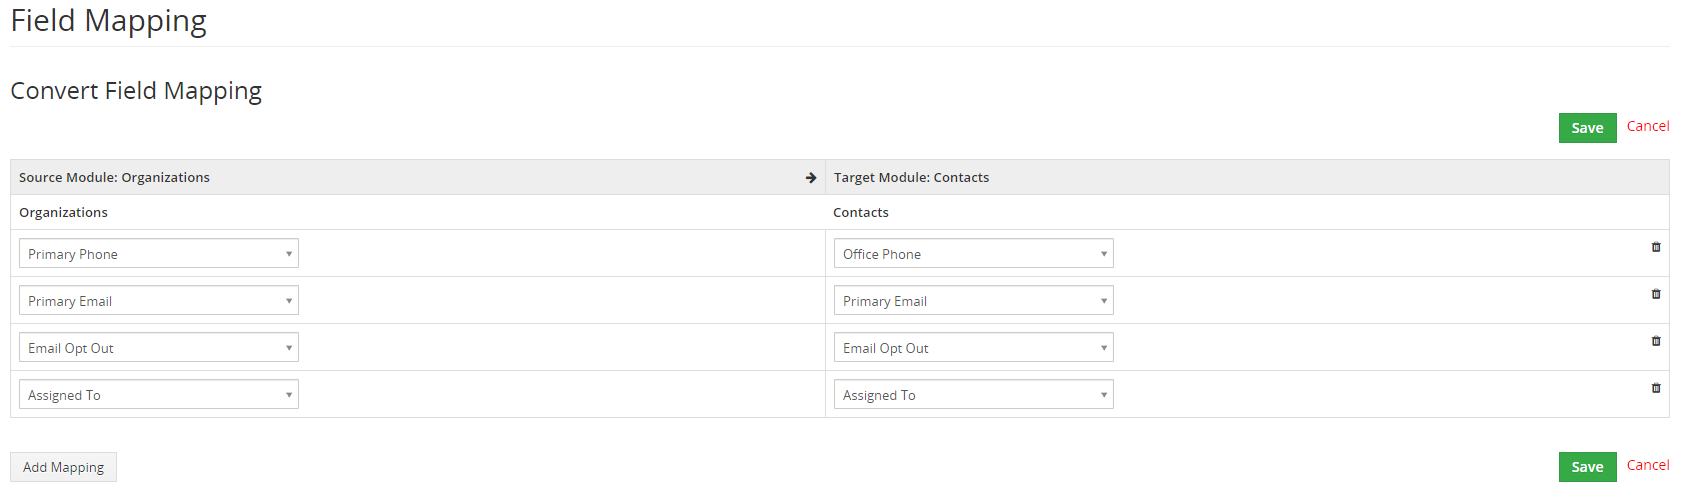
You can see an example below which fields can be pre-filled to create Contact:
 Note: You can use your Custom fields also!
- When you are done with adding mappings proceed via button.
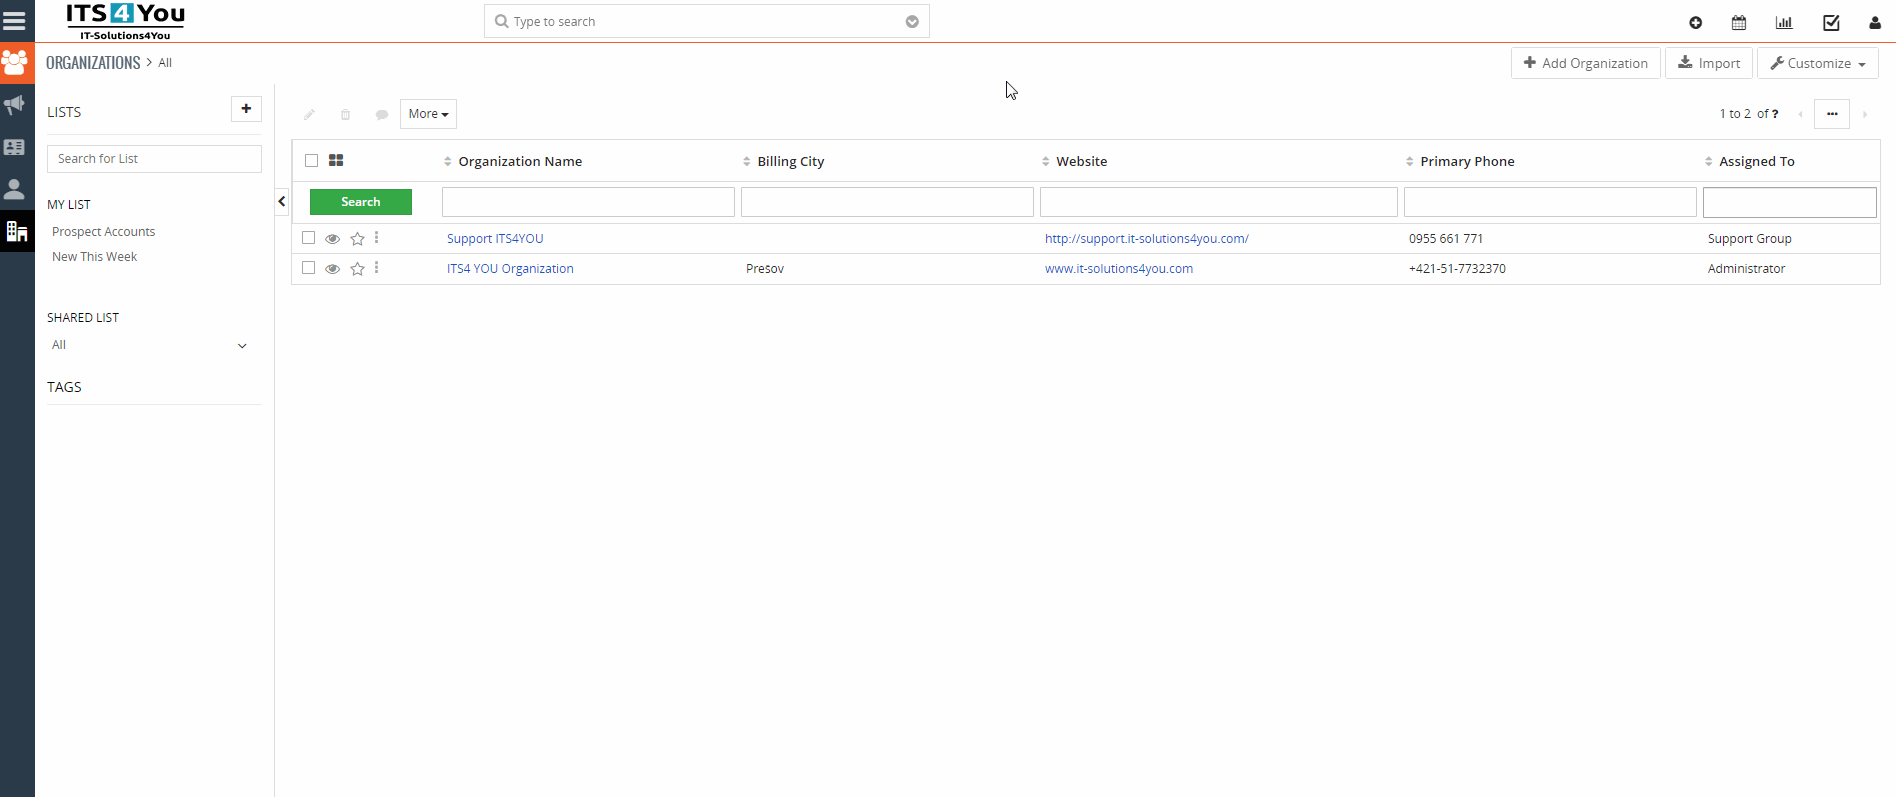
- Now head to the Organization Detail view and click on the drop down menu button and choose a label/link “Create Contact” we created in step 4:

- After selecting “Create Contact” you will be redirected to the Contact creation/edit window. Now all fields we added to the field mapping are pre-filled:

- Finish by filling up additional contact details if needed and Save the contact.
![]() Note: You can use field mapping via our extension also when you are creating a new contact via the Contacts module. All you need to do is add a new contact and select Organization from the picklist and all fields will be pre-filled. Below is an example how this works:
Note: You can use field mapping via our extension also when you are creating a new contact via the Contacts module. All you need to do is add a new contact and select Organization from the picklist and all fields will be pre-filled. Below is an example how this works:
Using field mapping via Link/Label created for Detail view
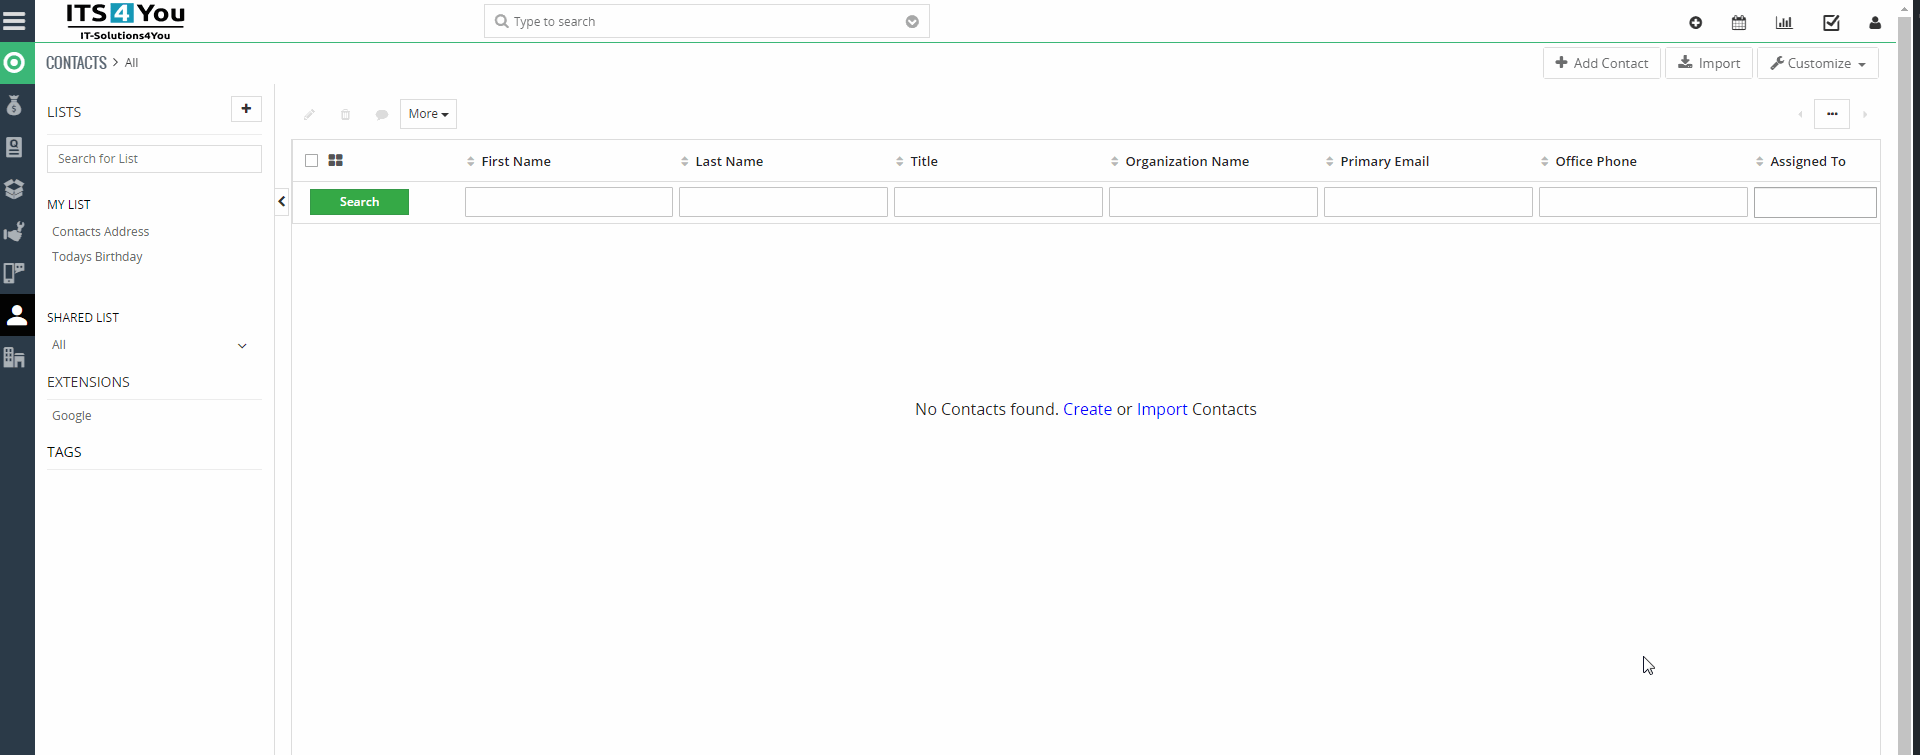
Using field mapping when creating new record directly via List view
- 6 July 2021: 4.8
- fixed issue where “link” fields were not mapped correctly
- mapping for reference fields will no longer cause issues
- 28 May 2021: 4.7
- full compatibility with Cashflow fields
- 27 April 2021: 4.6
- added compatibility between Text Area fields and CK Editor fields
- improved inventory mapping
- 31 March 2021: 4.5
- Widget Management compatibility
- 12 December 2020: 4.4
- fixed issues with Item details block where mapping products did not work properly in some cases
- 15 November 2020: 4.3
- fixed mapping between Leads and Contacs modules where salutation was not mapped properly
- 29 April 2020: 4.2
- fixed issue with creating mapping for currency fields
- fixed formating when mapping currency fields
- 03 April 2020: 4.1
- improved labels in the module
- detail view enhancement
- list view table enhancement
- January 2020: 4.0
- new validation system via our FREE extension Installer
- July 2019: 600.700.1.3
- minor bug fixes
- June 2019: 600.700.1.2
- minor bug fixes
- June 2019: 600.700.1.1
- extension release
- same installation package for Vtiger 7.x & Vtiger 6.x