

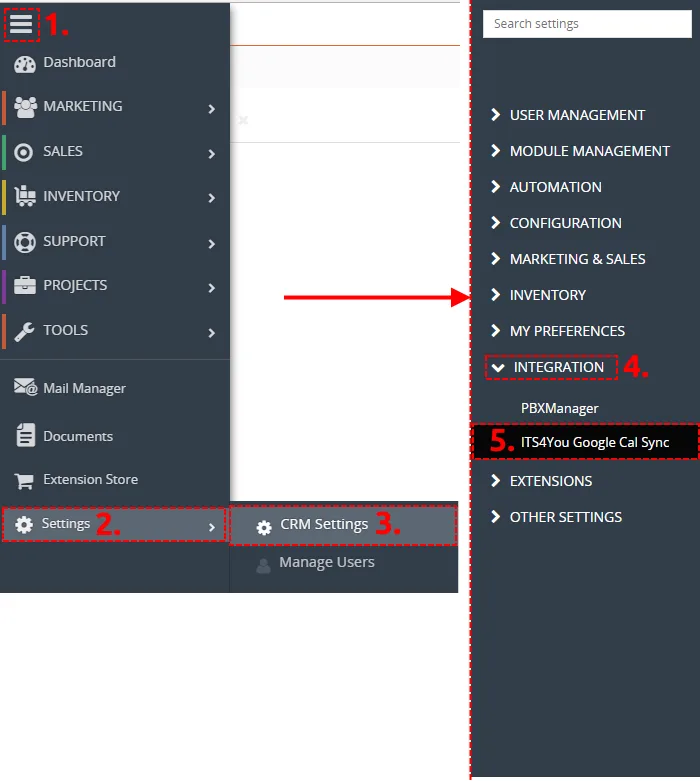
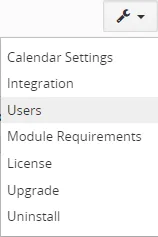
Settings part you can find in Settings-> CRM Settings-> Integration-> ITS4You Google Cal Sync.
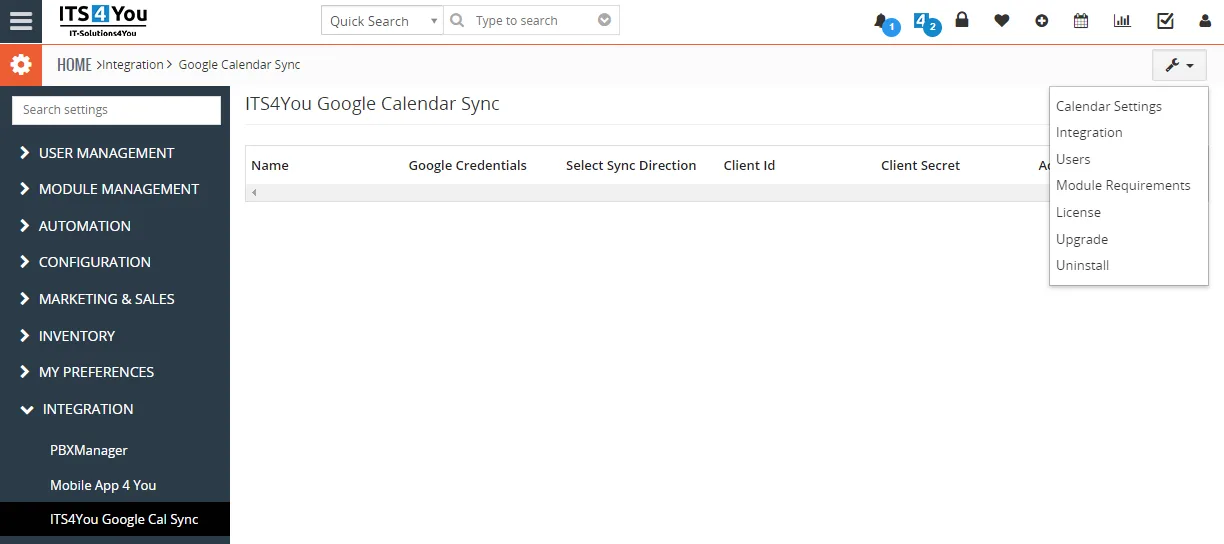
In the Settings, you can find:
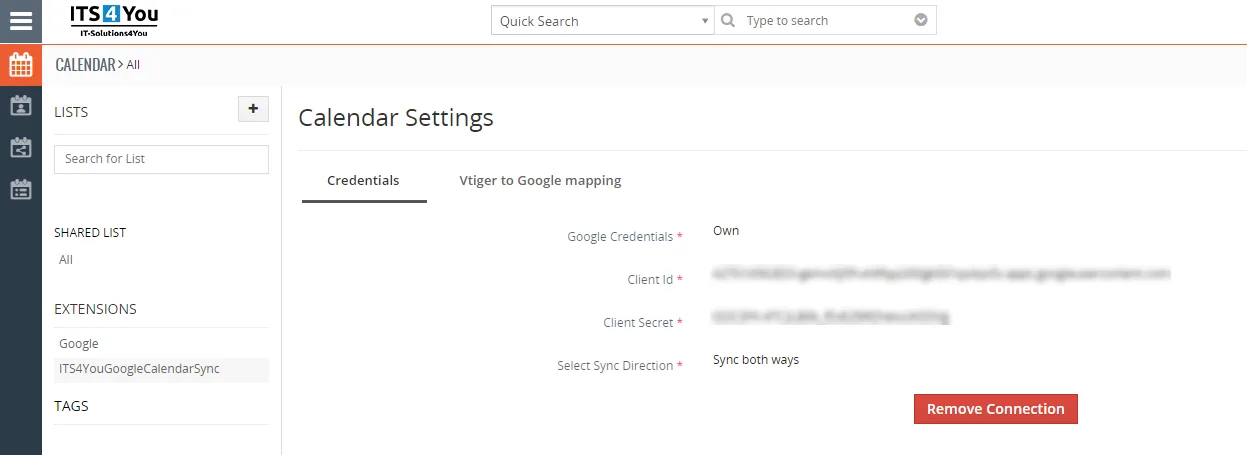
- Calendar Settings – settings where you can setup the Credentials like Client Id, Client Secret and Sync Direction
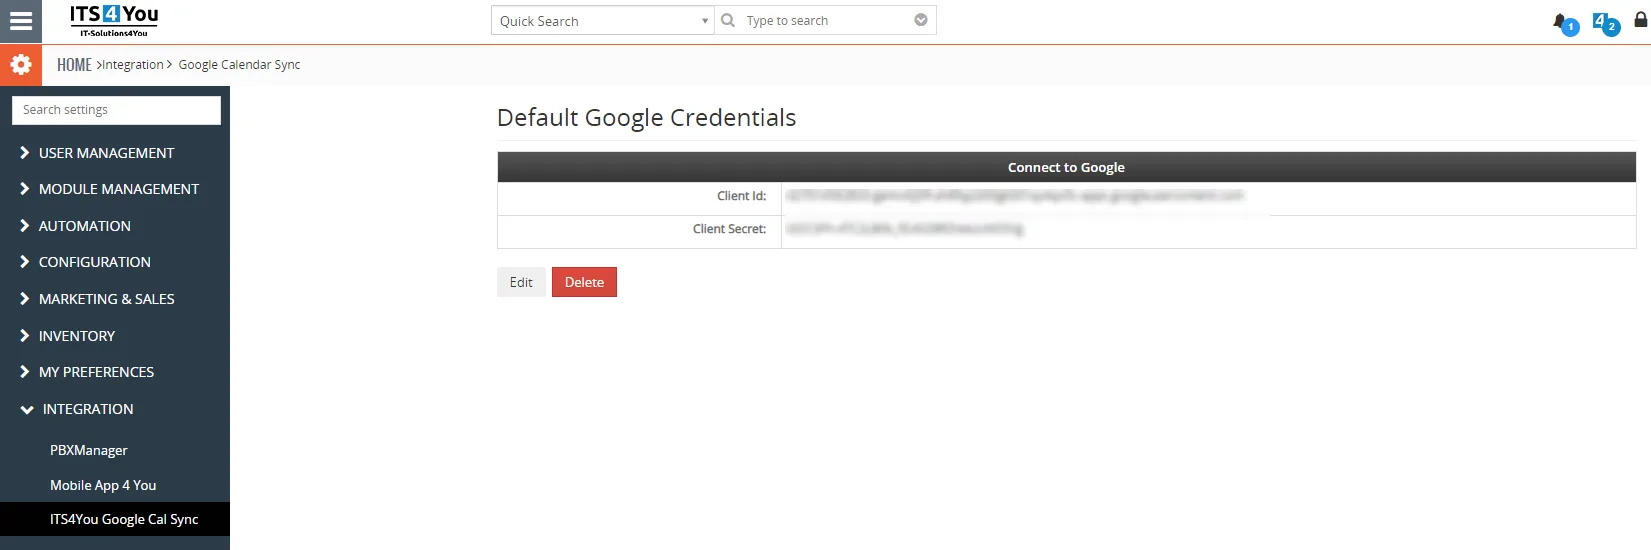
- Integration – add Credentials like Client Id, Client Secret for Default Google Credentials
- Users – shows the currently active users for Google Calendar Sync where you can also perform additional actions
- Module Requirements – check if the all Requirements are met for your module (like Custom links, Event handlers, etc..,)
- License – see if a license is currently active
- Upgrade – option to upade Google Calendar Sync
- Uninstall – remove extension from your CRM
6.1 Calendar Settings
This link will take you to the Calendar Settings where you can also define Vtiger to Google Mapping.
6.2 Integration
Integration link shows the Default Google Credentials which can be also accessed via:
CRM Settings – Integration – ITS4You Google Cal Sync.
6.3 Users
In this section you can see your users who use Google Calendar Synchronize.
Also from this page you can remove Sync for any user.
User section you can find in Setting tab when you select Users.
Now you can see all users who is connected to Google.

If you want to remove user please click on Remove Connection.
And confirm removing.

6.4 License
All our modules are using Installer to manage licenses. Please check our Installer pages for more information.
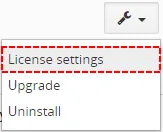
You can access the License settings like its shown below:
(there can be more options from the pick-list, depends on the module)
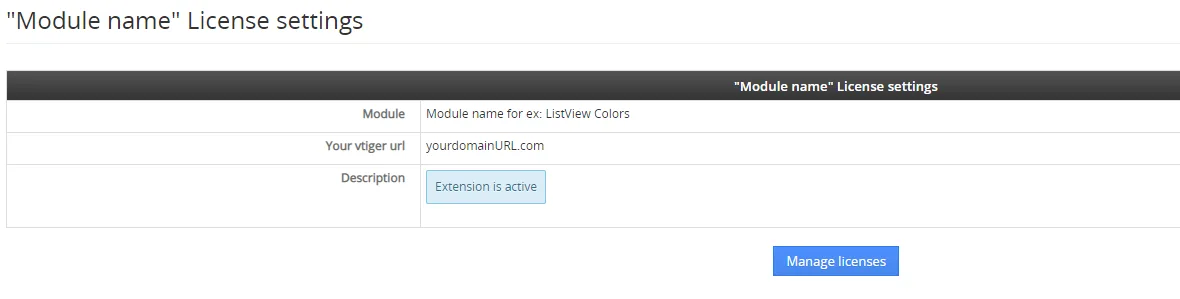
After accessing the License window you can see screen bellow with following information:
- Module name, Your Vtiger domain URL
- Description, if license is activate or not:
 – your license is currently active,
 – your license is not active and you need active it via Installer.
 – the Installer FREE extension is missing on your CRM, please download it.
To activate or manage license, click on the  button.
6.4.1 Deactivate license
If you want to deactivate your license, please provide following steps:
- Go to your Installer, by a click on Notifications Icon
 and then on the button
or via Main Menu – Settings – CRM Settings – Extensions – ITS4YouInstaller - The following screen will appear (see below):

Installer – deactivation of license You can deactivate license by click on the button

 Note:The module will be deactivated but not uninstalled and license will be removed from the Activated Licenses tab.
6.4.2 Reactivate license
To reactivate a license after deactivation, you need to follow the same process as you activated it first time:
- Click on the
 button and enter your license key.

- Confirm with
 button.
When the license was activated you can see module available in the Modules tab below.
Note: To see modules and manage licenses you have to log in to our e-shop with @email and password via  button (top right screen side in Installer module).
6.5 Update
The upgrade of the module is initiated via our Installer or manually.
Updating via Installer (recommended):
- open the Installer in the CRM
- in the Modules tab find your installed module and you should see the
 button available
- If the new version is available, you will be notified via Installer Notifications icon
Updating Google Calendar Sync manually:
Updating module manually is sometimes required when our support team sends you .zip package, if you are having some issues or there is any update or customization available.
Otherwise, we always recommend to use update via Installer.
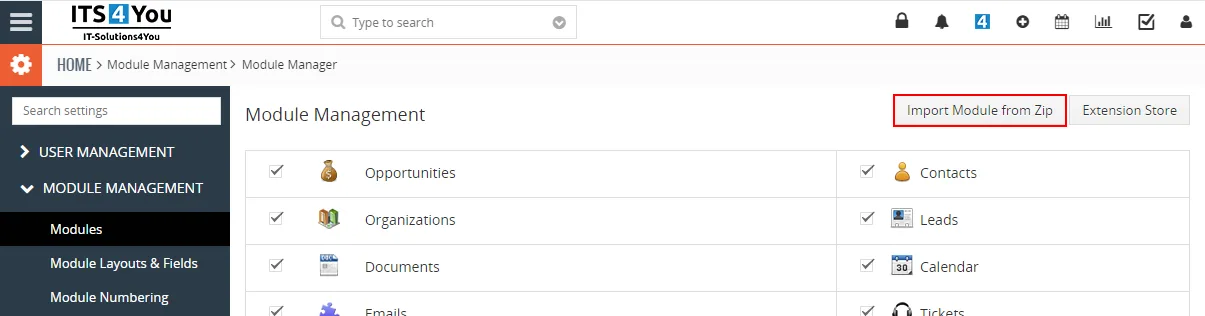
Update can be done via Module Manager by clicking on the button  and selecting the .zip file.
6.6 Uninstall
If you need to remove the module from your Vtiger you have two options:
- Uninstall via Installer.
- Manually via going to module Settings and choose Uninstall option.
⚠️ Uninstalling Google Calendar Sync will remove all saved Settings!
6.6.1 Uninstall via Installer
You have also option to remove the module via Installer window by accessing the Settings – Uninstall window:
- Go to your Installer, by a click on Notifications Icon and then on the button ,
or via Main Menu – Settings – CRM Settings – Extensions – ITS4YouInstaller - Find the module you need to uninstall in the Modules tab
- Via
 pick list button choose the Uninstall option, you will be redirected to the Uninstall window.
- Click on
 button

- Confirm uninstall with
 button
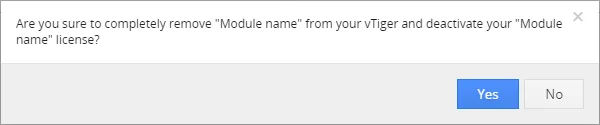
Now, the module has been removed from your Vtiger and your license has been deactivated. To use this module again, you need to provide installation and validation steps (see Installation chapter).
6.6.2 Manual Uninstall
There is also available option to remove Google Calendar Sync from your Vtiger manually.
To uninstall please provide following steps::
- In Settings Part select Uninstall
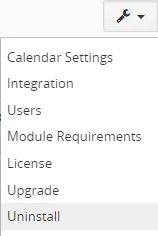
Manual Uninstall of Google Sync extension - Please, click on
 button

Select Uninstall – Google Calendar Sync - Confirm uninstall
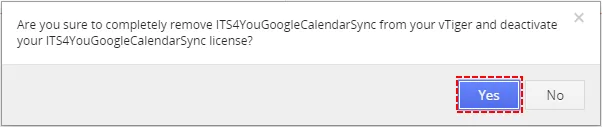
Confirm Uninstall – Google Calendar Vtiger 7 Sync
Now, Google Calendar Sync is removed from your Vtiger and your settings are lost.
To use Google Calendar Sync, you need to provide installation and validation steps (see chapter 2. How to install Google Sync).
Need help with Google Calendar Sync?
Our support team answers questions about installation, templates and settings.